Anatomy of a Car Seat
Perhaps this should have been one of the first posts I made, it seems like a natural place to start…well, better late than never. I’ve come to realize that not everyone knows the lingo when it comes to speaking car seats, I can see it in parents’ eyes when I get rolling in an appointment. I often have to remind myself that my excitement over car seats isn’t universal. Hopefully this blog post will help a few people out there get to know their child’s seat better and make working with it less daunting.
Surprised?! That’s why car seats aren’t always easy my friend!Let’s break these pieces down further.
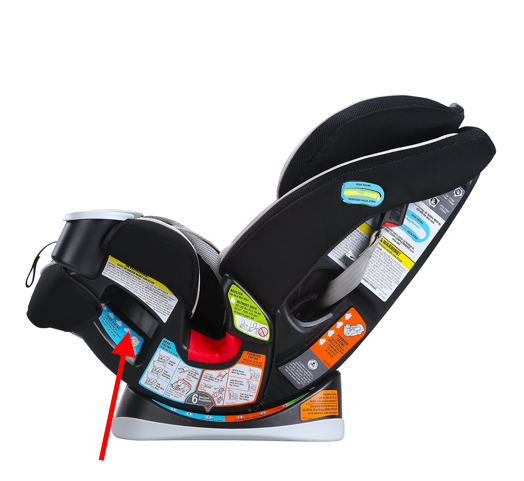
Padding - Not an option on every car seat, but you have to read your manual to find out the specifics of when to use the padding (and when not to!). Some specify padding removal by weight of child, comfort or direction of the seat installation.
Shoulder Belt Guide - This only has to do with this seat being used in High Back Booster mode. It’s where the shoulder belt of the vehicle seat belt will be routed. In this case, it's fixed, but sometimes the shoulder belt guide will be adjustable by moving the headrest of the car seat. Booster seat questions? Try here.
Harness Pad Cover - again, these are not an option on every seat, some come with them and some do not. If yours didn’t come with some and you really want them, call your seat manufacturer and ask what they recommend. Sometimes they do have ones that are approved for use and they will let you know. Stay away from those big squishy ones that are available in stores and online, they aren’t tested with your seat and are totally compressible. Read the manual to learn about these guys too, sometimes they are required and sometimes they aren’t. If you take them off, make sure you don’t lose them (trust me on this one!).
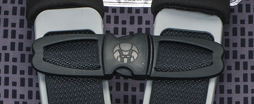
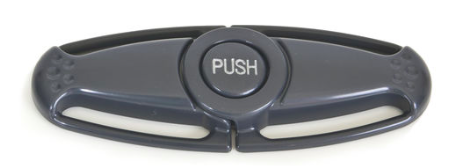
Chest Clip - This is what we call a “Pre crash positioner”. The chest clip’s purpose is to hold the harness in the correct position in the event of a collision. It’s important to note that this is called a CHEST clip. This is NOT called a belly clip or a throat clip or an any-other-part-of-the-body clip. It goes on the child’s chest, at armpit level. Strongest part of that cute little person’s body is in line with their armpits and we want that to support that chest clip if the time ever comes. Here is our blog post on chest clips.
Harness Webbing - This is what keeps your little one tightly in their seat. It’s made up of woven material just like a seatbelt, but isn’t quite as wide. Fraying, cuts, spills etc need to be handled with care on the webbing. If you see anything that concerns you, contact the manufacturer. If you want to wash the webbing, make sure you follow the manufacturers instructions. When is the harness tight enough? Do the pinch test! Pinch laterally along the webbing at the child’s collarbone area. If it’s tight enough, you can’t pinch any.
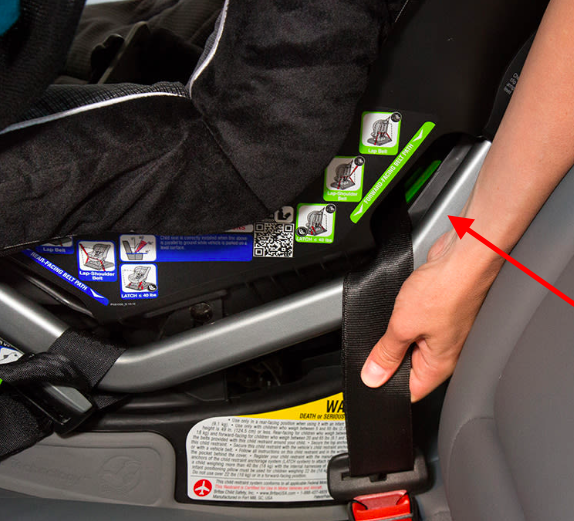
Forward Facing Belt Path - This is where the belt (UAS or seatbelt) passes through the seat when you are installing it (for specifics, read your manual).
Harness / Crotch Buckle - This is called either and it’s the big buckle right in the middle. These can require adjustment by size or comfort or by direction of installation (that’s right, have to read the manual to find out). More on the crotch buckle here.
Harness Adjuster Button - Usually this is accessible by sticking your finger under the seat padding and finding a little metal piece. Some have to be pushed down and some have to be pushed up, once you figure out which way yours goes, pulling on the harness webbing while pushing the button will allow you to loosen the harness.
Harness Tail - Pull this guy and the harness will tighten. Do the pinch test to see if you pass.
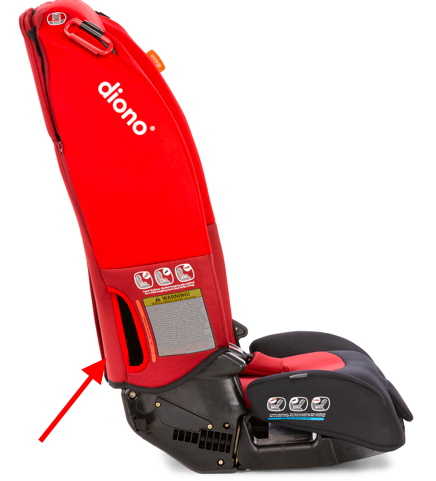
Base - Rear facing only (bucket style) seats aren’t the only seats with a base. Most times the base is not removable on convertible or 3 in 1 seats, but it is a possibility. The base can be adjustable for recline or for forward facing/rear facing specifics.
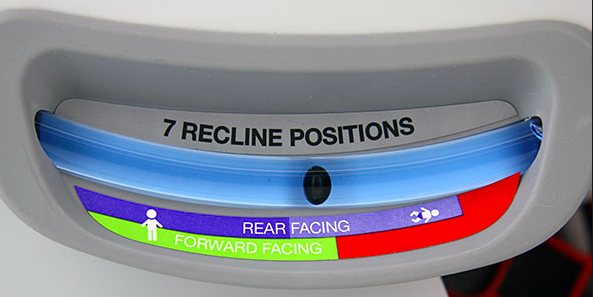
Recline Lever - This is present on many seats, but not all. This handy little lever will help you adjust the recline of the seat on the base. Read your manual to find out where your recline should be.
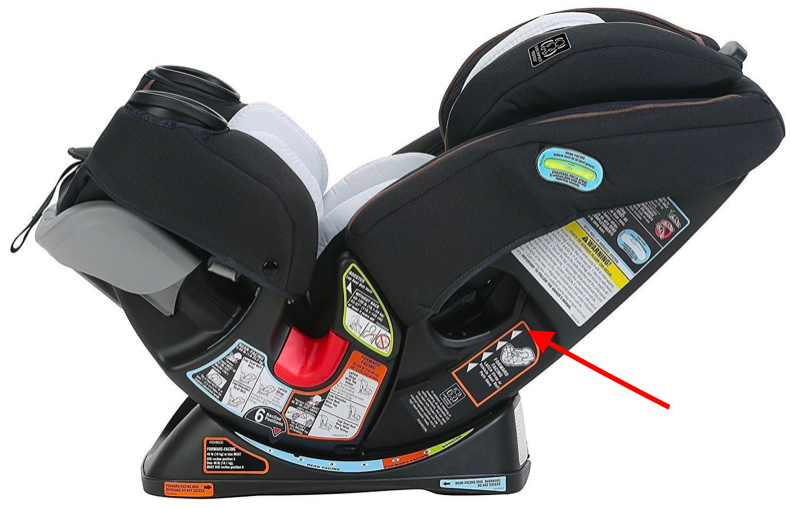
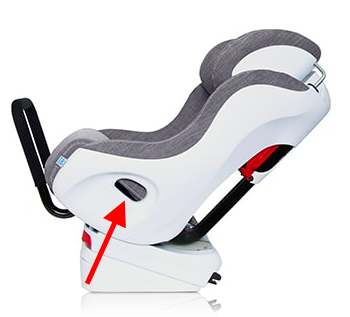
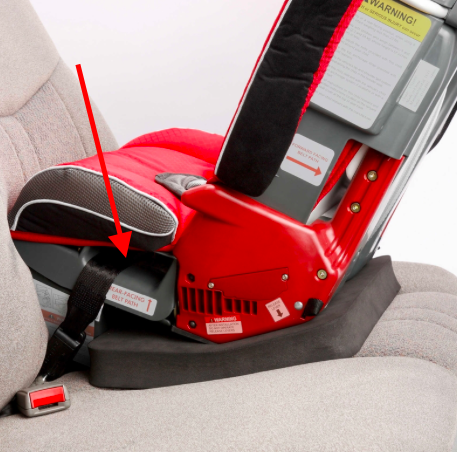
Rear Facing Belt Path - This is where the UAS or seat belt webbing will pass through the seat when it is installed rear facing.
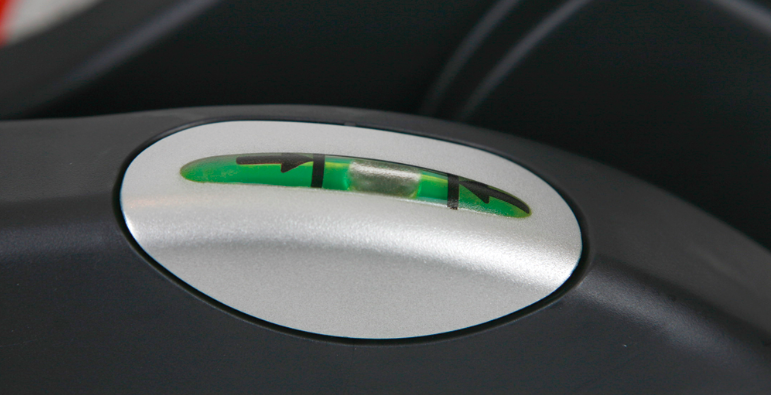
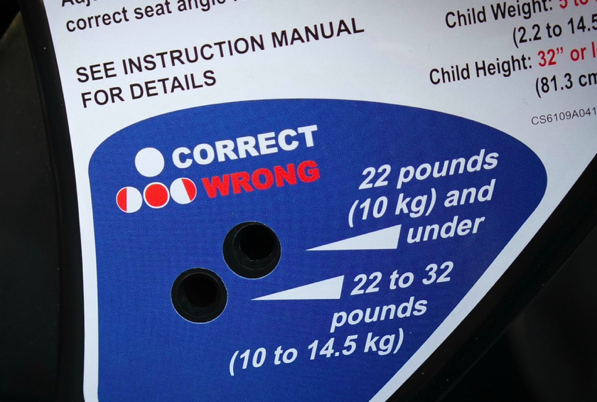
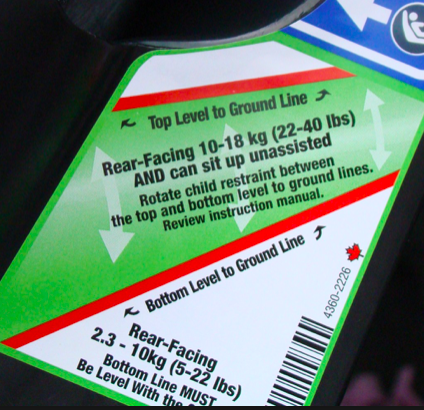
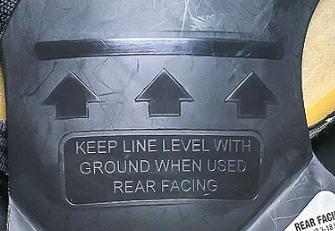
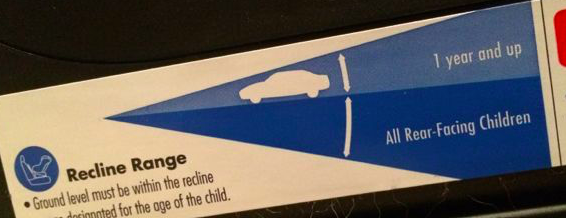
Recline Indicator (NOT PICTURED) - Rear facing seats have a recline indicator and must be installed according to the directions. We like token newborns and young infants as reclined as possible to avoid constricted airway. The recline indicator can look very different depending on the seat (bubble, line, dial etc).
This picture shows the rear of car seat and more of the important parts.
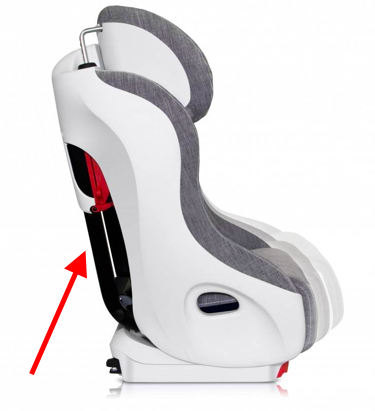
Harness Slot - This is the opening in the shell and the padding of the car seat. This can be adjusted by manually rethreading the harness webbing through the slot (careful not to cross thread the webbing - same slot in the shell and the padding) or sometimes there is a lever at the top of the seat that when it is squeezed, the head rest will move up and the harness height will be adjusted with it. Your manual will address which slots can be used in which direction. Remember, harness needs to be at or below shoulders when REAR facing and harness must be at or above shoulders when FORWARD facing.
Harness Webbing - At the back of the seat is where the harness webbing connects to the harness tail by a metal bracket. Make sure no twists are hiding back here!
Harness Tail - This is where it connects to the harness webbing creating its ability to hep you adjust the harness length for your child.
Top Tether - This is a very important one. In Canada, you MUST use a top tether anchor when you have a forward facing harness seat installed in your vehicle. All vehicles since early 2000’s have a location for them, some had them even earlier. Use a proper anchor point, check your vehicle owners manual for the info on your vehicle.
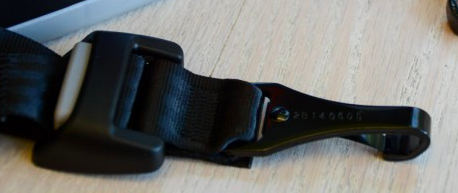
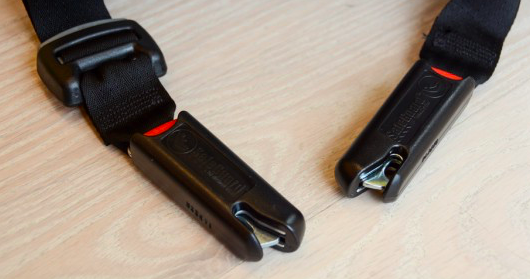
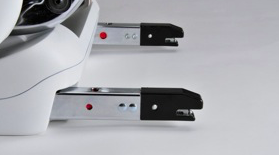
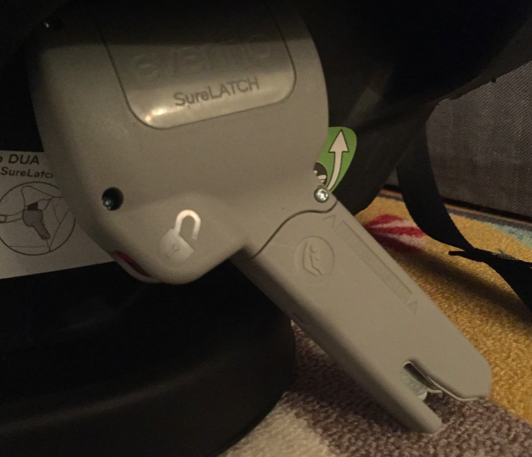
UAS / Lower Anchor Webbing and Connectors - This webbing must be routed through the correct belt path and then the connectors get connected to the anchor points in your vehicle. Your vehicle manual will tell you where those are. Connecters can look different, but they all function the same way. Make sure you don’t put them on upside down!
If you have any questions about any of these components or something specific to your own seat, please let us know!
That’s all for this post, but hopefully you’ve learned some car seat lingo now!
As always,
Safe Travels


